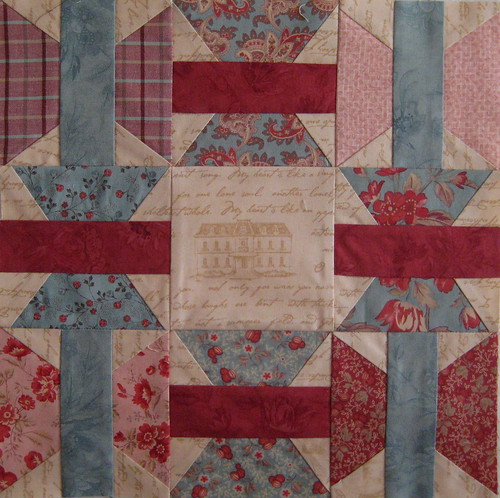
This is my third block in the Vintage Block Quilt Along, created by Charise Creates and hosted at her blog site which is charisecreates.blogspot.com You just need to click on the Vintage Block Quilt Along tag at the top of her blog and you can download all the patterns and instructions for FREE!
If I were to do this block over again, I would use a lighter fabric for the butterfly centers that are dark right now. My eye is going to those first. But I think in the overall scheme of the quilt it will be just fine.
This block is also referred to as the Spool Block or the Butterfly Spool Block. It is from the Kansas City Star Newspaper circa 1929. Here is a clipping from the newspaper " This interesting block harkens back to the neighborly custom of begging one's friends for scraps of their frocks or old neckties to put into a quilt."
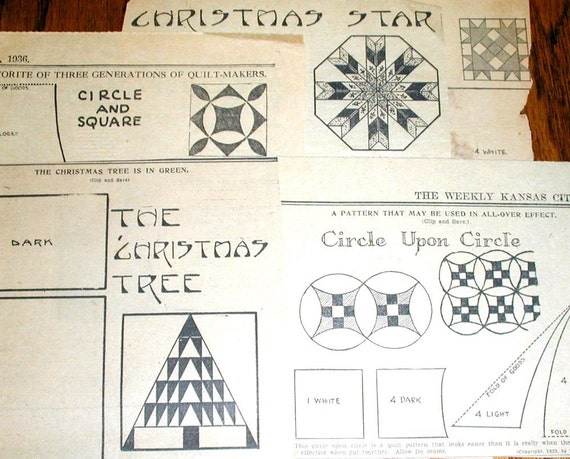
These are examples of what those patterns looked like when they were clipped from the newspaper. I imagine how excited women would be in anticipation of the arrival of a new pattern in their newspaper. Not having rotary cutting or the plexiglass templates of today, some of these patterns would have been a real challenge.
Well, I was excited about the Beggar's Block pattern, because it is a paper pieced pattern and I will be teaching a paper piecing class this year. There are some changes that I would make to her instructions for this block.
1. The first change would be to take your paper pieces, 4 at a time, stacked neatly and put them under your sewing machine needle (having removed all of your thread, including bobbin) and just stitch each of the sewing lines. This perforates your paper, making it easier to fold and easier to remove.
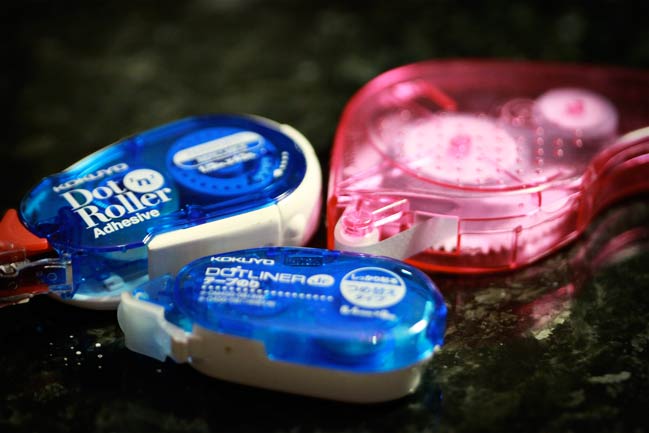
2. The second change that I would make to her instructions: instead of initially pinning each piece of fabric to the block I would use, either a paper glue stick or the sticky adhesive tabs that you can purchase for paper scrapbooking. This eliminates the bulk of a pin while holding your initial piece of fabric firmly in place. You only need a tiny dab. It is easily removed once the project is completed. Make sure what ever glue stick or dot you select it is archival quality, acid free.


3. The third change: Make sure you have ample fabric surrounding your block, she does not include the seam allowance in her pattern, so you need to make sure that you have sufficient fabric surrounding your block at all times to be able to trim it back to a 1/4" seam allowance all around.

4. The fourth change: I would not recommend pinning the additional pieces (background sections) If you need to hold them in place, use the scrap book sticky tape even a small piece of scotch tape placed outside of the seam line would work. You don't want to be stitching over your "sticky" stuff, but the bulk of pins underneath your project will not lead to accurate piecing. Using the tape method, eliminates that bulk. I found that I did not need a pin or tape for these pieces, they were pretty easy to handle under the needle.

She doesn't talk about removing the paper. For this pattern, I would not remove the paper until you have stitched the blocks together into your main block, then carefully remove your paper.
I like this pattern and will probably redraft it with my EQ6 to allow for the 1/4 inch exterior seam. I think that would make for a bit more accurate piecing at the finish. So excited to see what the next month will bring!

Thanks for the hints, sounds like they would make it much easier to do.
ReplyDeleteNice to see your take on paper piecing Applecrisp! I grew up in KC and I think I remember seeing the blocks in the KC Star. But I subscribed for a year to get a block a week, and I've yet to put one block together. I thought I'd pick blocks with meaning.. either by the name of the block or date it was published. It's really nice to see a BOM with them, and your take of course! Happy New Year and Yea to upright people! :D
ReplyDelete