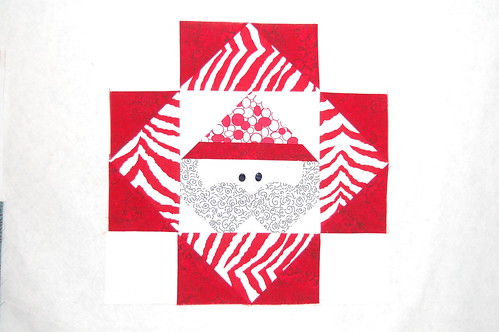
The Monkey Wrench Block aka Snail Trail Block
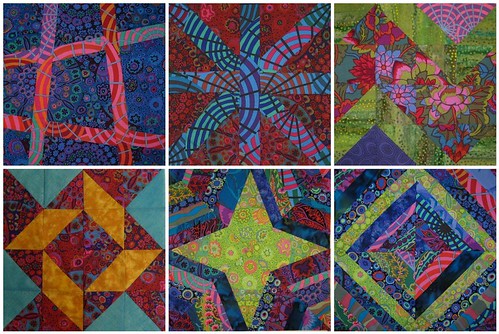
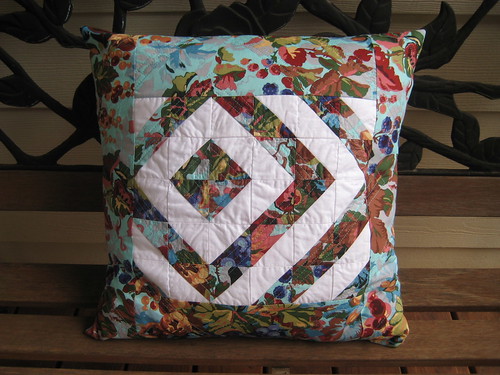
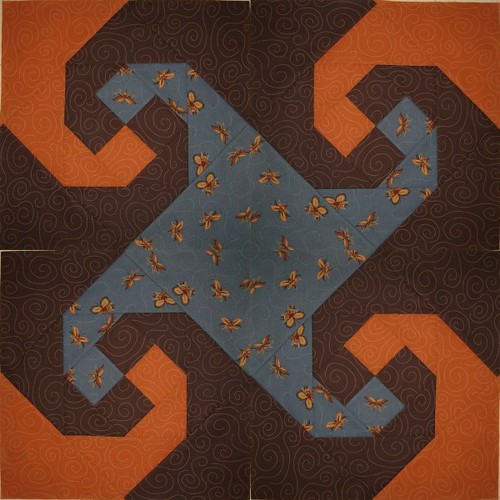
This is a fun block, it goes fast and look what happens when you put the blocks together! I have used mosaic maker to replicate four blocks and turned them to make all the blues come to the center to create a spinning star effect. Repeatedly using this block will give you a secondary design effect, this is known as a Tessellation. Depending on how many different fabrics you selected for your blocks, you could have several different "stars" in a quilt made with just this block alone.
So let's get started! For simplicity sake, I am going to use only two fabrics for this tutorial. You can however use up to four in this block and we will talk about how to do that at the end. I encourage you to read all the directions through once or twice before you begin.
For this block you will need to cut the following from EACH color:
1 strip measuring 3 1/4 inches x 6 1/2
1 square measuring 4 3/4 inches
2 squares measuring 9 inches
You should have the following components ready to assemble your block.
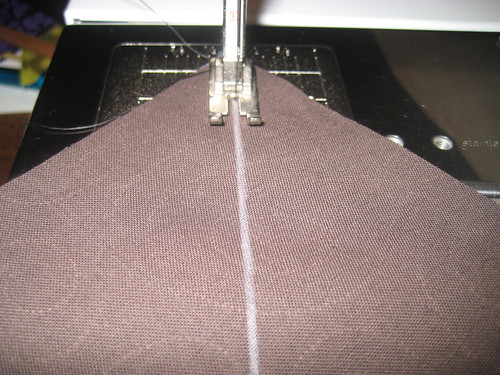
Take the two smallest strips and stitch them right sides together along one of the LONG edges and press the seams to one side, it should look like this when you are finished:
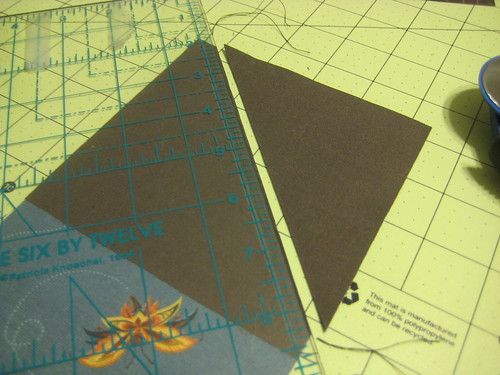
Take your ruler and measure over 3 1/4 inches and make a cut, measure again to make sure the remaining piece is 3 1/4 inches also.
Flip one of the pieces around so that you have it arranged like so...
now flip one over on top of the other and make sure the center seams butt together as we learned in lesson 1 and stitch. Press your seams to one side, your finished piece should look like this...
and it should measure 6 inches square.
Easy so far, right? Okay, now here we go...
take your two small 4 3/4 inch squares and cut them in half on the diagonal as shown...
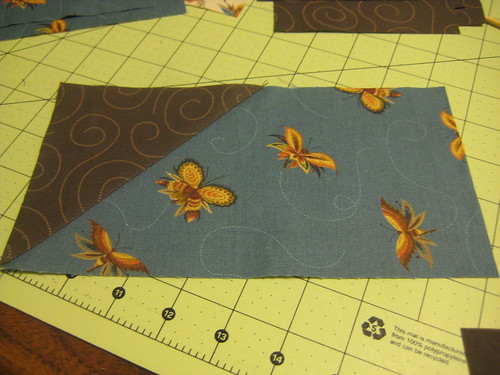
Now take one of the halves and place it on your block as shown below and stitch...
it doesn't matter which fabric you choose, but from now on, you will place the exact same fabric in the same position opposite where you placed the first one...as shown below...
you will have bunny ears hanging out the sides, trim those off even with the edge of your block. As you stitch each piece in place, press them with the seams going the same direction.
Take color #2 and apply the 1/2 square pieces in the same fashion as above...it should look like this...
You can place pins in the seam if it helps you to keep things lined up. You should have equal amounts of "ears" hanging over on both ends. Press open and stitch the remaining square in place.
Okay!!! Look at that, we are making progress, you can already see the design forming. You have 2 blocks of each color remaining.
Take 1 block and cut it in half on the diagonal, then keeping those pieces together, cut it in half again on the diagonal. You now have 4 pieces from the one block. You are only going to use 2 of these cut pieces...you can toss the other two into your scrap pile for another project. ONLY CUT 1 BLOCK OF EACH COLOR THIS WAY, you should have 2 blocks remaining that measure 9 inches square.
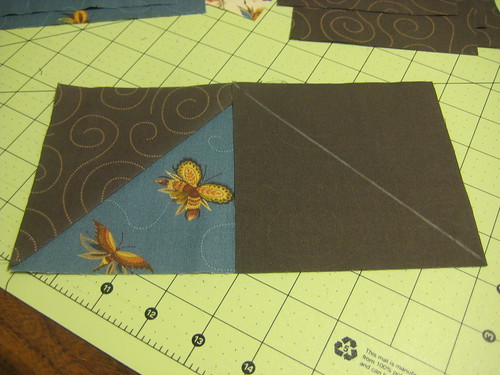
 Now you must pay attention to your fabric placement. We are going to apply the two pieces just like we did above, but you must make sure that you are going in the right direction to create the curving effect of the block. Pin your piece in place and then open it out to make sure you have the first one placed correctly, all the rest will follow in order.
Now you should only have 2 blocks left, one of each color. Cut those on one diagonal only as shown below.
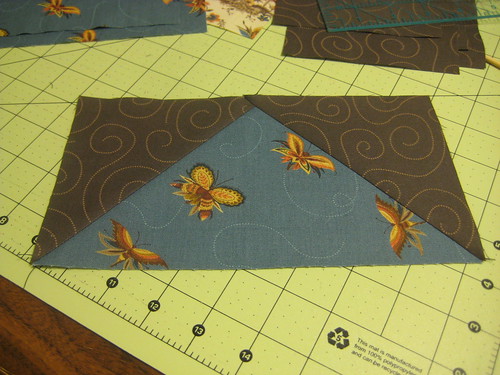
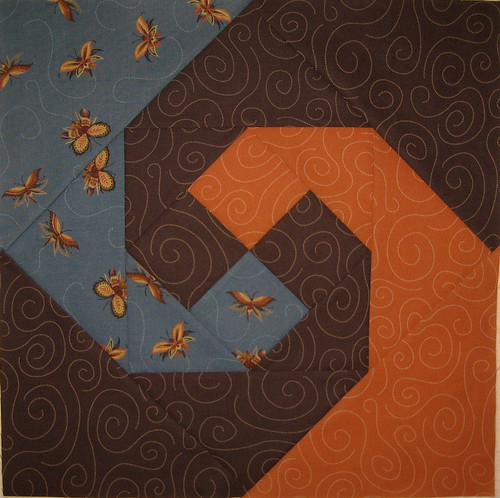
Apply these in the same manner as shown above and press all seams in one direction. When you are finished it should look like this...

You thought that was going to be hard didn't you? Surprise!
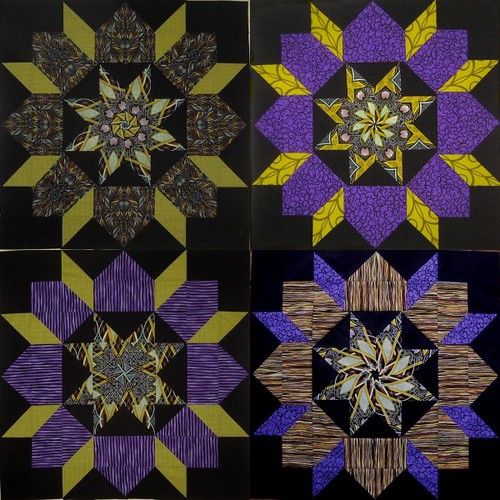
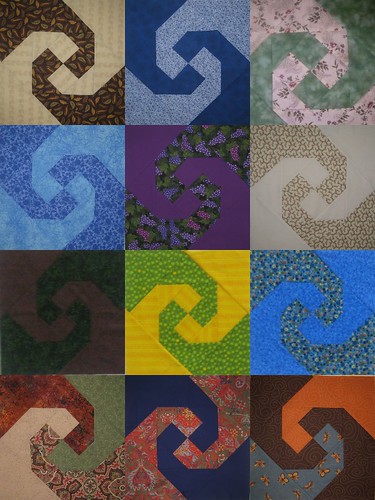
Alright, want to try it again? The block at the beginning has 3 different fabrics...to create that effect, you must start with
four 3 1/4 inch square pieces in 3 colors ( 2 background colors and 1 each of the contrast colors) You will need one extra block of each of the remaining cuts and you will have some fabric waste with this.
Same with a 4 color block, you will start with 4 different squares of fabric measuring 3 1/4 inches and again, you will need to make the remaining cuts 1 of each of your 4 fabrics. And again you will have fabric waste. The effect can be quite stunning.
So play with this block, experiment with your colors and see what you come up with! I can't wait to see!!!
Our next meeting will be Friday, April 13th. Our next block will be
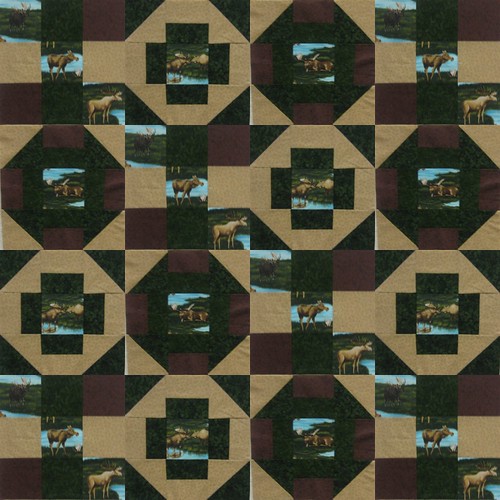
The Kings Crown Block
Quilting Tips:
When you need to rip out a seam, use your seam ripper and cut a stitch about every half inch or so. Then pull the thread from the other side, and it will pull out easily without distorting your fabric. You will have to pick out the small pieces of thread, but that can be made simple with the use of Scotch Tape. Pull out a long strip about 6-8" is plenty, lay it on the seam and press into place, grab one end and pull up, your loose threads should come right up. You can also use a fabric lint roller that you would normally use for your clothing, same principle.
If you have trouble threading your sewing machine needle or any needle for that matter try this: for the sewing machine, place a small piece of white paper behind the needle with the left hand and thread with the right. For sewing needles, use any white or very light colored background.
If you find that your finished blocks are not the correct size, they come up short...an easy trick is to add 1/4 inch to the size of your cut pieces, stitch them together, then cut them to size and square them up as you go along.
Giving your fabric a good starching before cutting can help a great deal if you find you have problems with distortion. Make sure you are using starch rather than sizing.
A Quilting Stiletto can be used to help you feed that last bit through your sewing machine accurately, if you don't have one, you can use one of those bamboo skewers that you can buy at the grocery store, I keep a pack of them in my sewing and crafting supplies. They are cheap and disposable and work great!
Pre wind your bobbins. Do several at the same time. Nothing is more frustrating than running out of thread on your bobbin in the middle of a project. And remember...you don't need every color in the book, as a quilter, you can get by with the following. Dark Grey and Light Grey. If you want to expand from that, get Black and White. Save your pretty thread for embellishing your quilt, where it will show!