Showing posts with label Vintage Block Quilt Along. Show all posts

Sunday, June 2, 2013

Weekend Whimseys

Ruched Happy Bag
Been staying close to home, caring for my husband.  We will be heading down the hill to see the doctor tomorrow for the second post op visit after his emergency eye surgery last weekend.  So, keeping myself busy with some fun projects.  First, this little Ruched Happy Bag.  I have made lots of these.  The pattern is by Amy Friend, you can visit her website at www.AmysCreativeSide.com


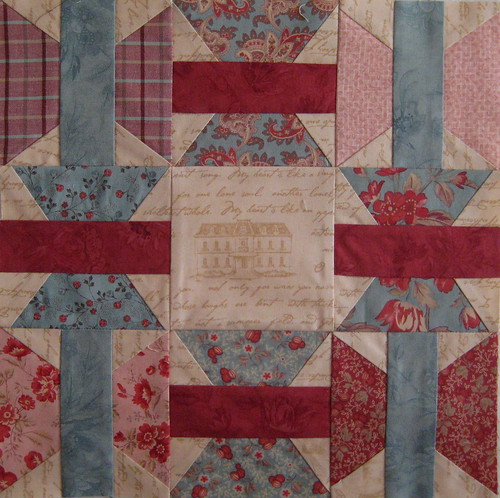
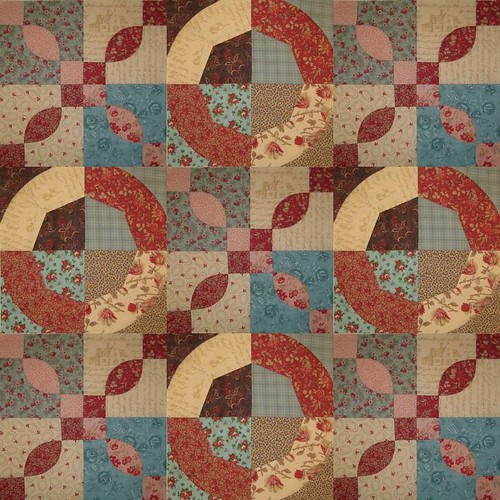
Then it was on to some BOM's that I am a little behind on.  First one is a block for the Vintage Block Quilt Along hosted by Charise at http://charisecreates.blogspot.com/p/vintage-block-quilt-along.html  The patterns are free and although they make look easy, I guarantee you they are a bit challenging.

Daisy Block #7

Crazy Anne Block #6

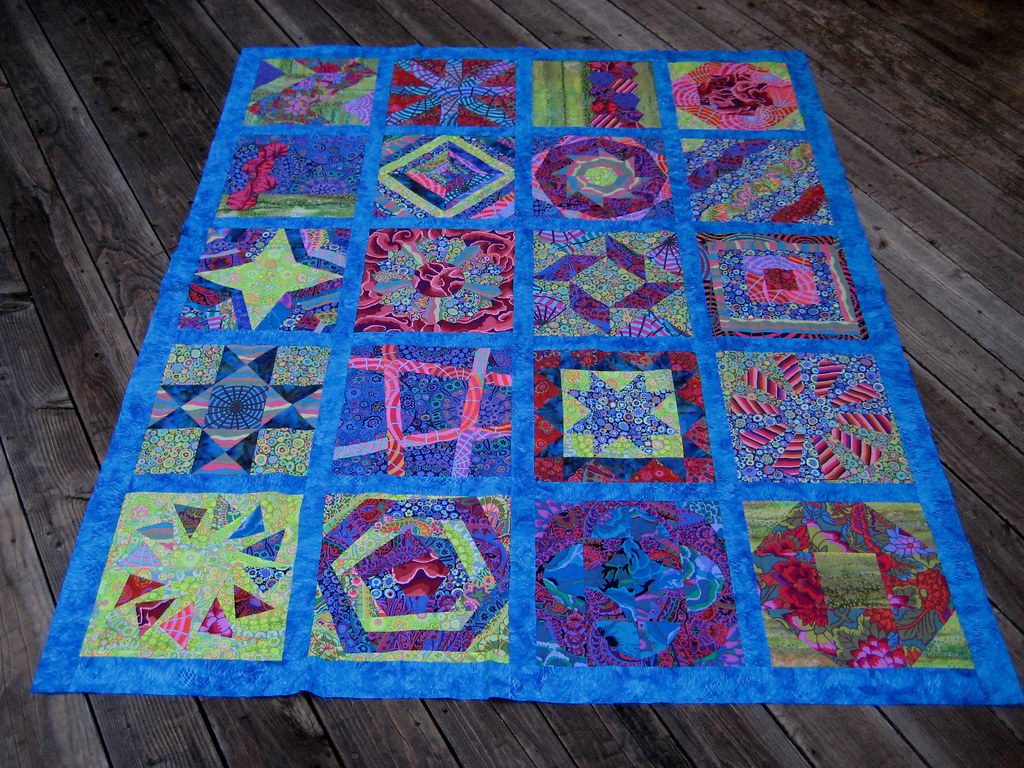
I finished the quilt top for my Saturdays Charms Quilt...which is a pattern that is from Missouri Star Quilt Company.  If you look back in my blog a couple entries, you will see the video that demonstrates this fun and easy quilt top.  Next, shop for border fabric, backing and binding.


My husband has called dibs on this one, he loves it...go figure.  


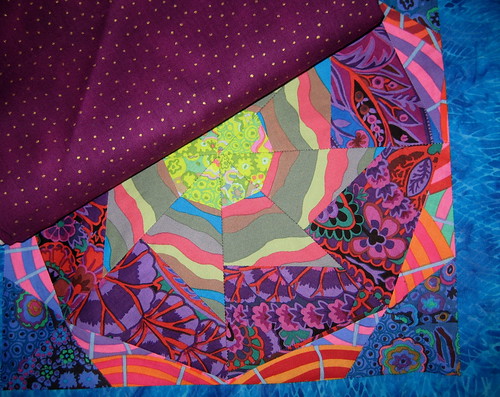
Then another block for the Perfect Paper Piecing group...this will be our June Block.  I am not crazy about how this photos, not enough contrast, but it looks rich in the quilt.  I will make another in the other colorway I am working, which I think will more effectively show off this block.   But I think it's important to show you what is working and not working so that you can make choices for your block that will work for you!
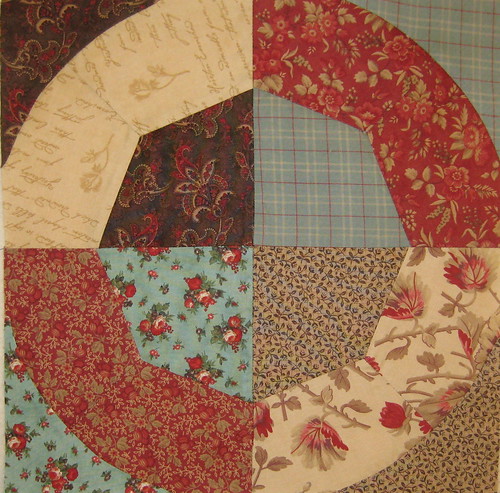

Circling Geese

This is the current block for the Sugar Block Club 2013 which is called Home Sweet Home.  This BOM is being hosted by Amy Gibson at www.stitcherydickorydock.com  There is a nominal fee, under $10. for the year and you have access to all of her blocks for this year.  All of my blocks will have the same white background, then they will vary in shades of turquoise and gray.    Each block has a bit of a story or theme for me.  This one...which came first the bird or the egg?  

Home Sweet Home

And this little scrappy potholder, which will be for work.  We have an old beat up one that we use with the sterilizer when it's too hot, this will work just fine with insulated heat resistant batting, and it will gussy up the place.


I got the idea for this potholder from a new book I just downloaded from Kindle.  Tula Pink's City Sampler: 100 Modern Quilt Blocks.  


If you have wanted to make a quilt, or a potholder, or a table runner...and you don't know how to quilt and you need to start with something easy.  If you don't want to make your grandmother's sampler quilt.   If you like the modern aesthetic, this is a book you should get.  So very easy, and such pretty results.  She gives you the nudge and let's you explore your own creativity.  Well Done!   

Well, you can see that I have a rather eclectic bunch of projects going...LOL.  Ah, isn't that the way of a quilter?  One day you feel traditional, another modern, who says you can't have it all?!


Saturday, January 12, 2013

Beggars Block, Vintage Block Quilt Along #3


This is my third block in the Vintage Block Quilt Along, created by Charise Creates and hosted at her blog site which is charisecreates.blogspot.com  You just need to click on the Vintage Block Quilt Along tag at the top of her blog and you can download all the patterns and instructions for FREE!

If I were to do this block over again, I would use a lighter fabric for the butterfly centers that are dark right now.  My eye is going to those first.  But I think in the overall scheme of the quilt it will be just fine.  

This block is also referred to as the Spool Block or the Butterfly Spool Block.  It is from the Kansas City Star Newspaper circa 1929.  Here is a clipping from the newspaper "  This interesting block harkens back to the neighborly custom of begging one's friends for scraps of their frocks or old neckties to put into a quilt."


These are examples of what those patterns looked like when they were clipped from the newspaper.  I imagine how excited women would be in anticipation of the arrival of a new pattern in their newspaper.  Not having rotary cutting or the plexiglass templates of today, some of these patterns would have been a real challenge.


Well, I was excited about the Beggar's Block pattern, because it is a paper pieced pattern and I will be teaching a paper piecing class this year.    There are some changes that I would make to her instructions for this block.  

1. The first change would be to take your paper pieces, 4 at a time, stacked neatly and put them under your sewing machine needle (having removed all of your thread, including bobbin) and just stitch each of the sewing lines.  This perforates your paper, making it easier to fold and easier to remove.

2. The second change that I would make to her instructions:  instead of  initially pinning each piece of fabric to the block I would use, either a paper glue stick or the sticky adhesive tabs that you can purchase for paper scrapbooking.  This eliminates the bulk of a pin while holding your initial piece of fabric firmly in place. You only need a tiny dab.  It is easily removed once the project is completed.  Make sure what ever glue stick or dot you select it is archival quality, acid free.  


3. The third change:  Make sure you have ample fabric surrounding your block, she does not include the seam allowance in her pattern, so you need to make sure that you have sufficient fabric surrounding your block at all times to be able to trim it back to a 1/4" seam allowance all around.  


4. The fourth change:  I would not recommend pinning the additional pieces (background sections)  If you need to hold them in place, use the scrap book sticky tape even a small piece of scotch tape placed outside of the seam line would work.  You don't want to be stitching over your "sticky" stuff, but the bulk of pins underneath your project will not lead to accurate piecing.  Using the tape method, eliminates that bulk.  I found that I did not need a pin or tape for these pieces, they were pretty easy to handle under the needle.


She doesn't talk about removing the paper.  For this pattern, I would not remove the paper until you have stitched the blocks together into your main block, then carefully remove your paper.  


I like this pattern and will probably redraft it with my EQ6 to allow for the 1/4 inch exterior seam.  I think that would make for a bit more accurate piecing at the finish.  So excited to see what the next month will bring!


Friday, January 4, 2013

Rose Dream Vintage Block Quilt Along #1


Rose Dream - Block #1

Finished my first block in the Vintage Block Quilt Along by Charise Creates.  This was a bit of a challenge with the curved seams, don't look too close, it's far from perfect, but it will be fine looking at it from a galloping horse, as my friend Brenda love to say.  This block is from the Kansas City Star Newspaper circa 1930 and Charise promises that you will be an expert at curves after making this block.  Pins and Starch are her recommendations!  She also did a lot of fussy cutting in her block which made it interesting.  Next block, I will pay more attention to that detail.

The fabrics I am using for this quilt come from the Three Sisters line for Moda.  I purchased them several years ago, so they may or may not still be available.  I actually purchased them to make a completely different quilt, which I made several times, got bored with and decided to save this fabric for another project.  Here we go! On to the second block, I am catching up.  


Night and Day - Block #2

If you would like to quilt along on this Vintage Block journey, you can follow her tutorial and download the pattern free at www.ChariseCreates.blogspot.com  just click on the link for the "Vintage Block Quilt Along" at the top of her website.

Playing with options...what does it look like if you combine these two blocks in a quilt.


Wouldn't this be adorable for a baby quilt, done in pretty pastels.  Love the x and o effect.


Wednesday, January 2, 2013

2013 Time To Reflect and Plan


Wow, I just noticed that I had not posted a photo of my finished Craftsy BOM on my blog!  Well, here it is, I have it pinned to the batting and backing, just waiting for my machine to get out of the shop for the quilting!  So happy with how it turned out, I love the blue batik for the sashing.  Not sure about the binding until I get it quilted, then I will sort that out.  But absolutely delighted with it.  


Here is a picture of the backing fabric.  No one can say it doesn't grab your attention!  I picked out a very royal plummy purple.   This will be fun to snuggle under!  The other quilt top that is ready to go is my take on the Swoon.  I will be sashing and bordering with black.   


All my UFO's...just waiting for my machine!  I Hope They Hurry!!!

I have decided that along with teaching a quilting class this year, I want to do a couple of BOM's for myself.  I have two selected and a possible 3rd and 4th.  I will be doing the 2013 Sugar Block Club.


This is a subscription that will come via e-mail from the same instructor that taught the Craftsy BOM, Amy Gibson from http://www.stitcherydickorydock.com  Amy just had twin boys and has two other children as well...I don't know how she manages to be so very creative!   She has a wonderful blog and I enjoy her work.


The next one that I am doing is a Vintage Block Quilt Along with Charise Creates.   Charise also has a wonderful blog at http://charisecreates.blogspot.com Each of these blocks are absolutely delightful and challenging.


I am also toying with making the Camelot Quilt.  It's hand pieced, we will see how my temperament and my hands hold out.  Here is a picture of the pattern, it is absolutely lovely.  The pattern cost about $45. US dollars, so it will have to wait for a payday or two.  I get excited looking on Flickr at all the work that others are doing on their blocks!
I will be teaching paper piecing this year, and I did see a new pattern by Amy Ellis called Dancing Stars.  Very clean and modern. The pattern is free and would be a GREAT way to use up some scraps that are about.  So I may undertake that one as well...we will see.  Pattern is downloaded and ready to go.   Amy also has a wonderful blog at 
http://amyscreativeside.com

So it's going to be an exciting year!  Let's all pray that everyone in my family can remain upright this year, no scraped knees or broken arms and we will be doing great!  Can't wait to see all my gals at the first class this month!