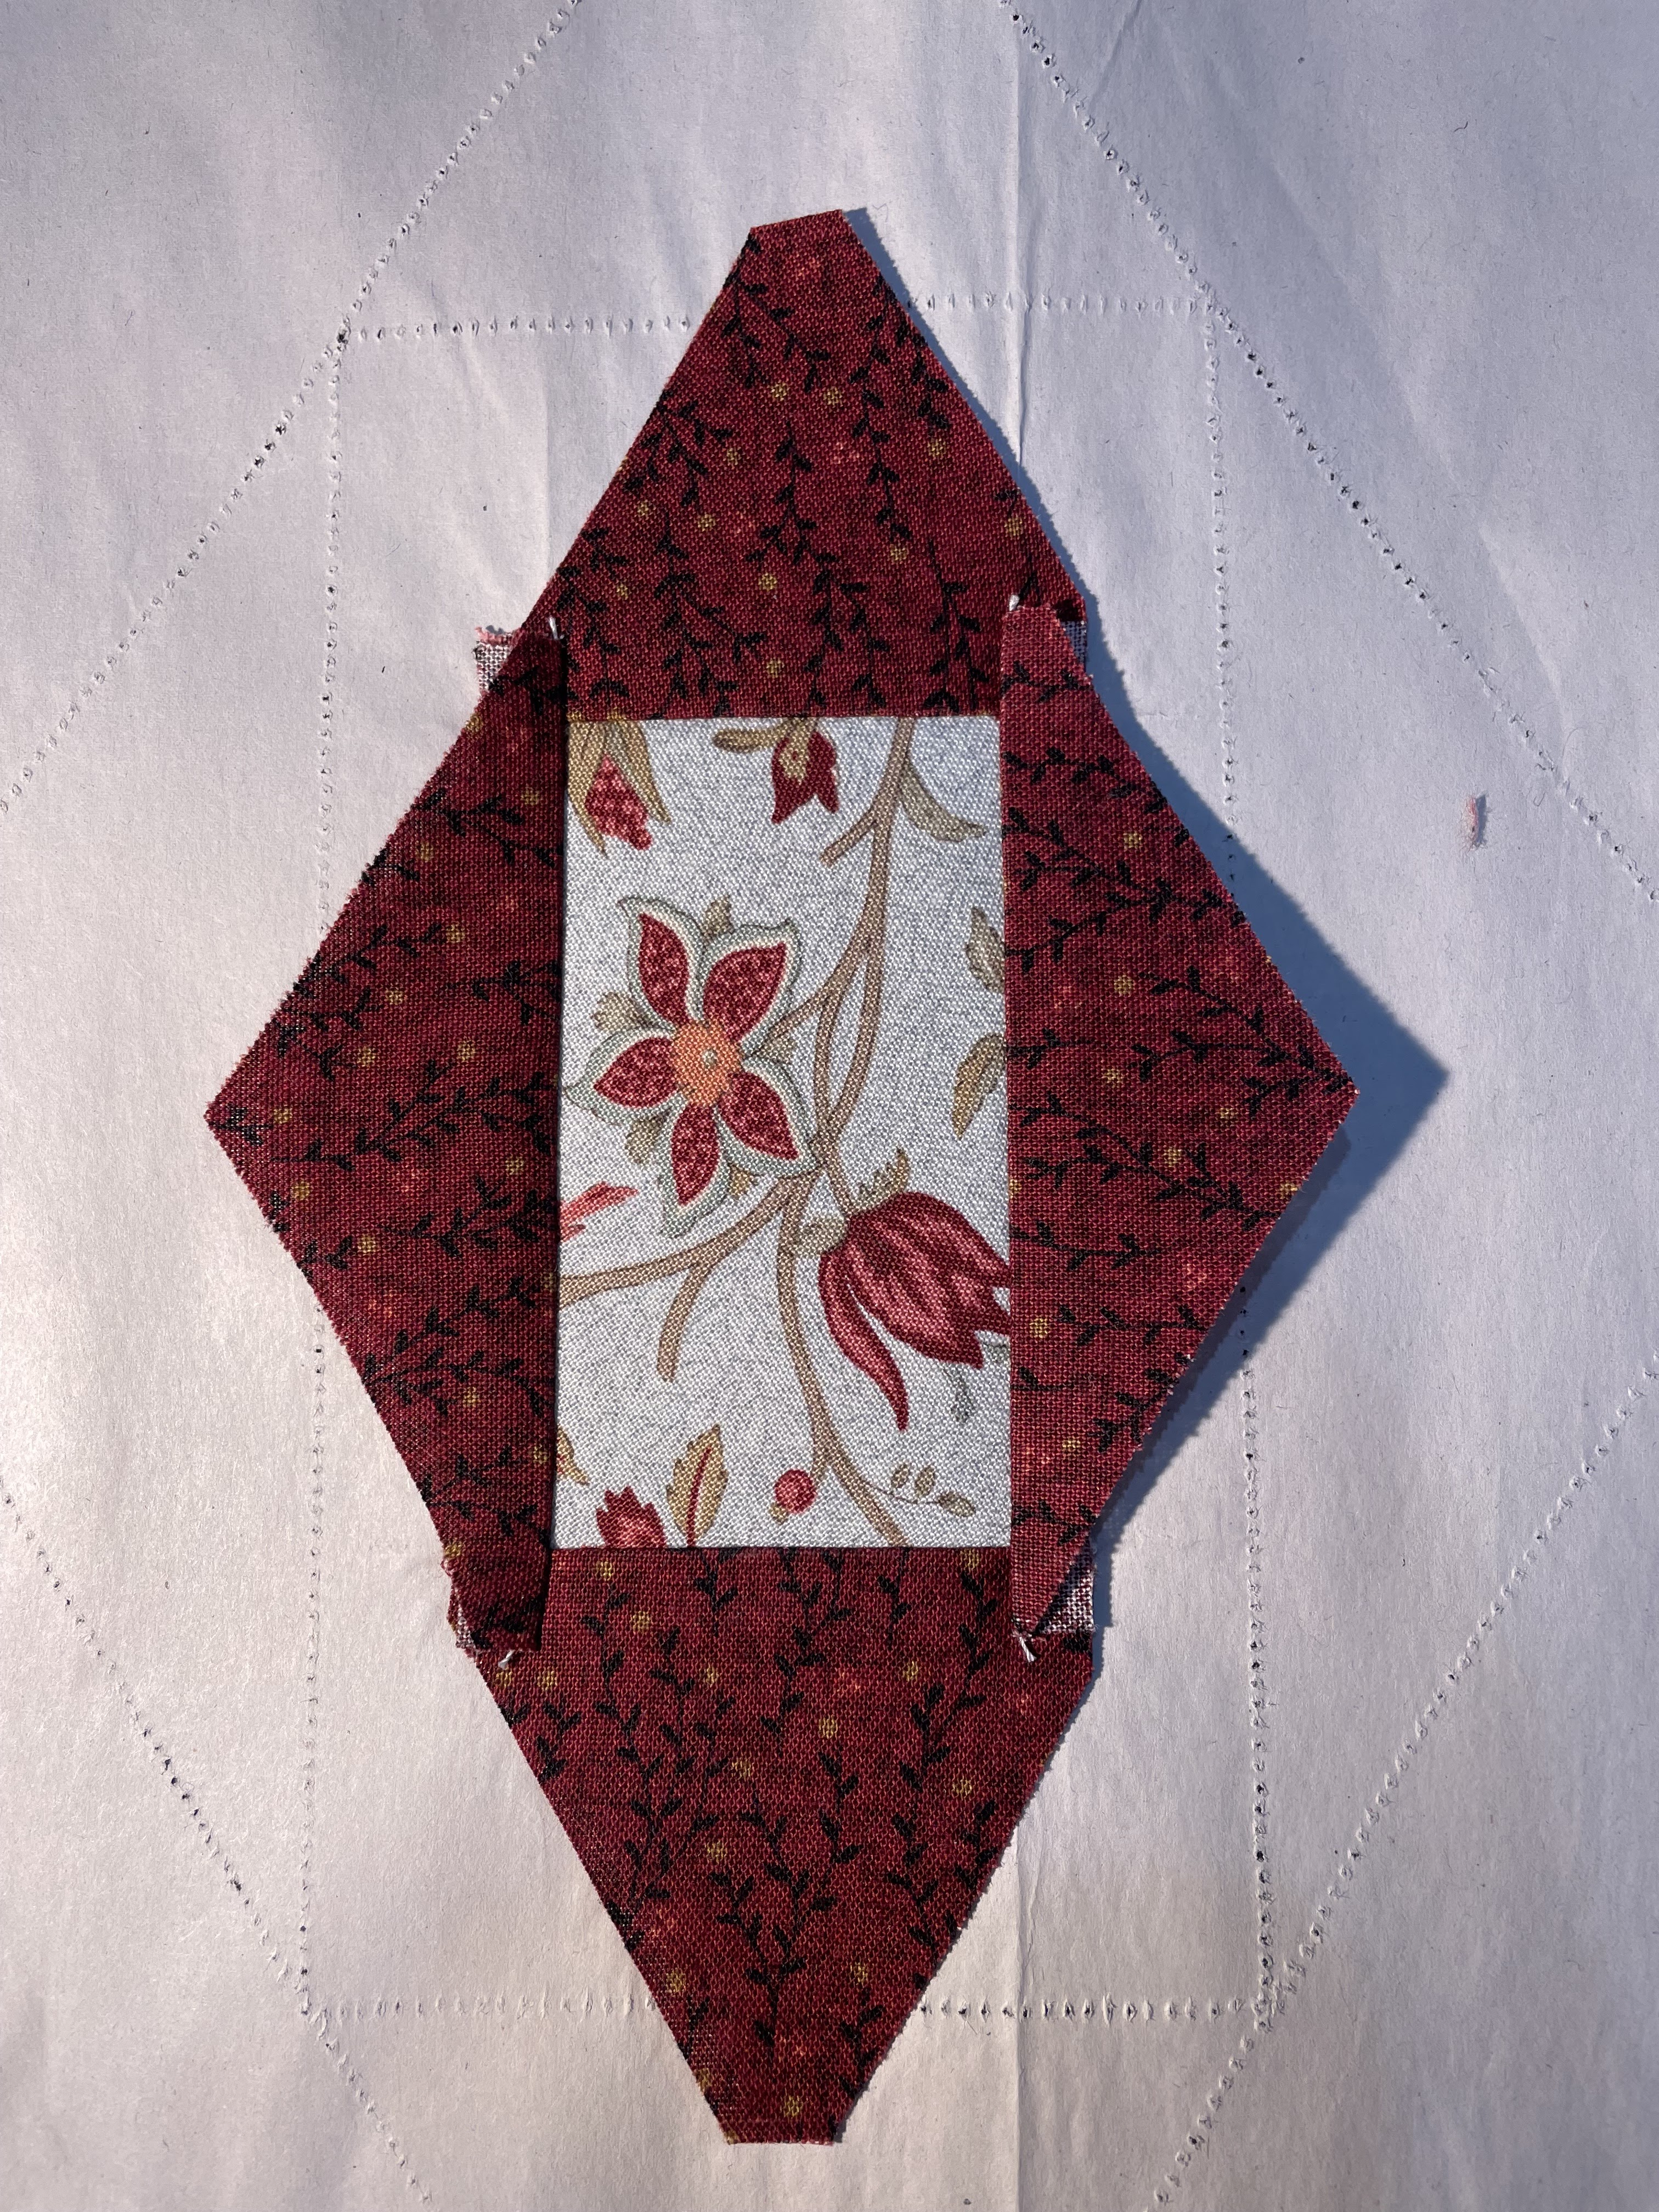
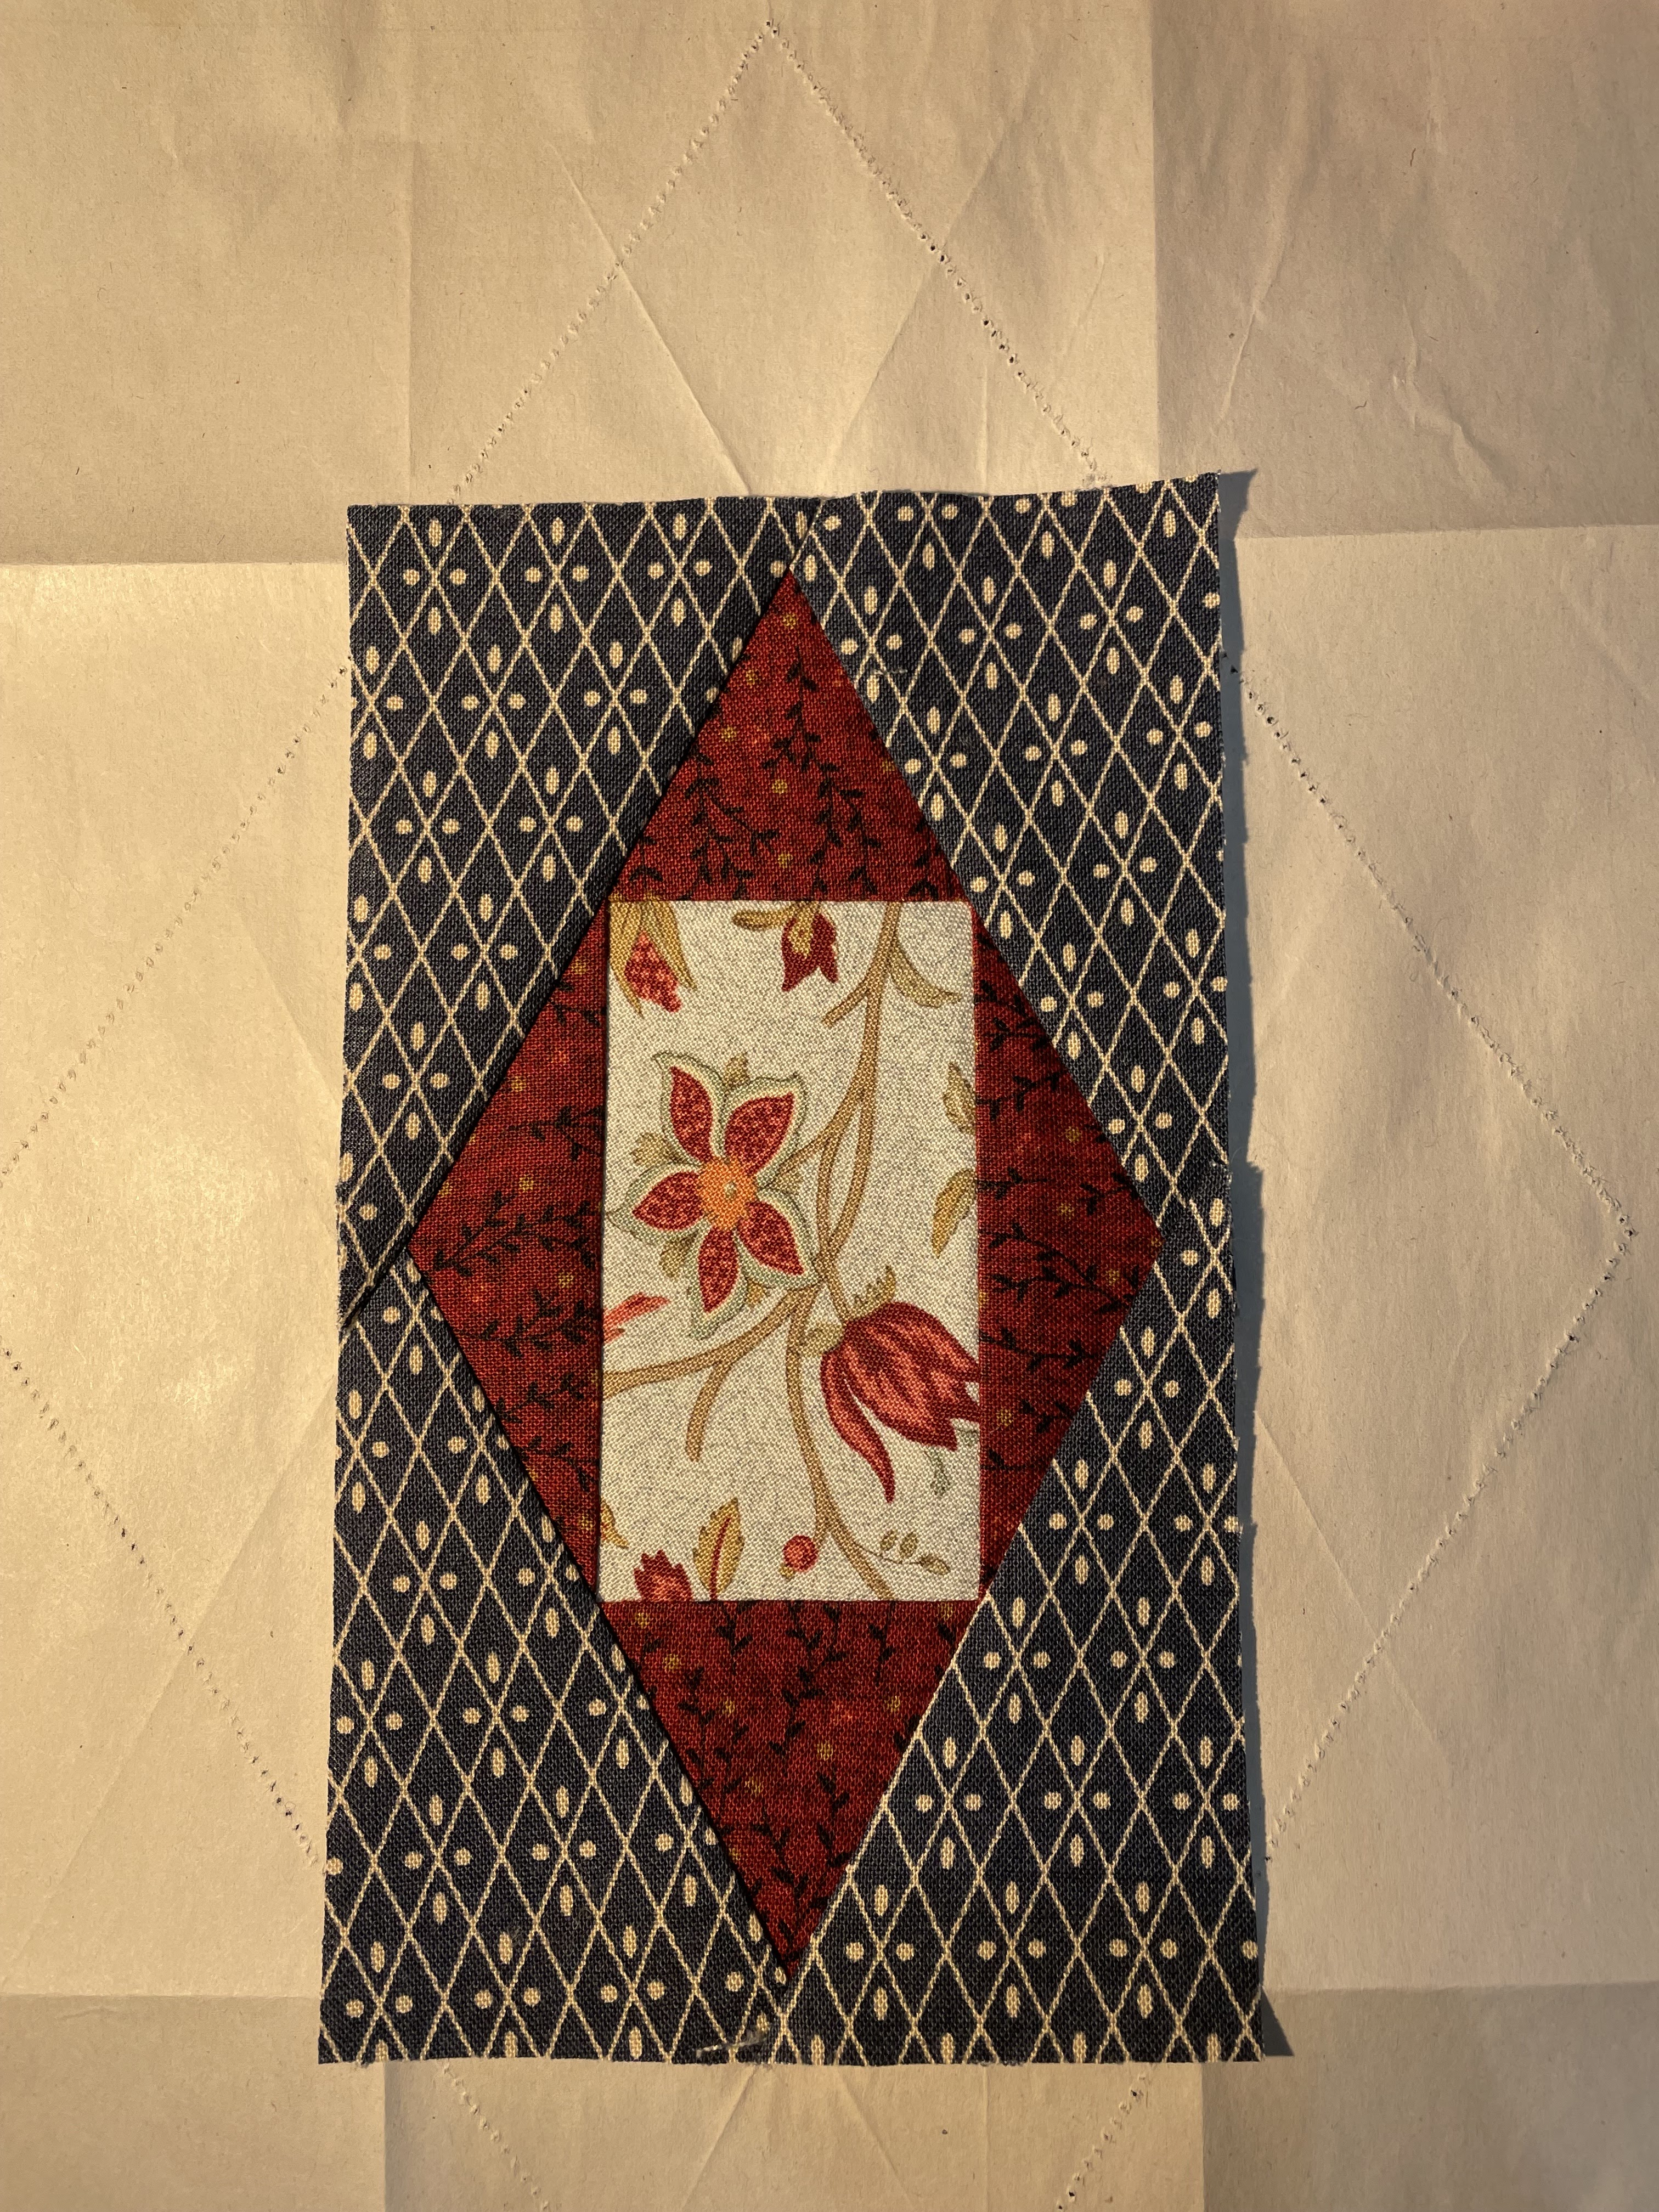
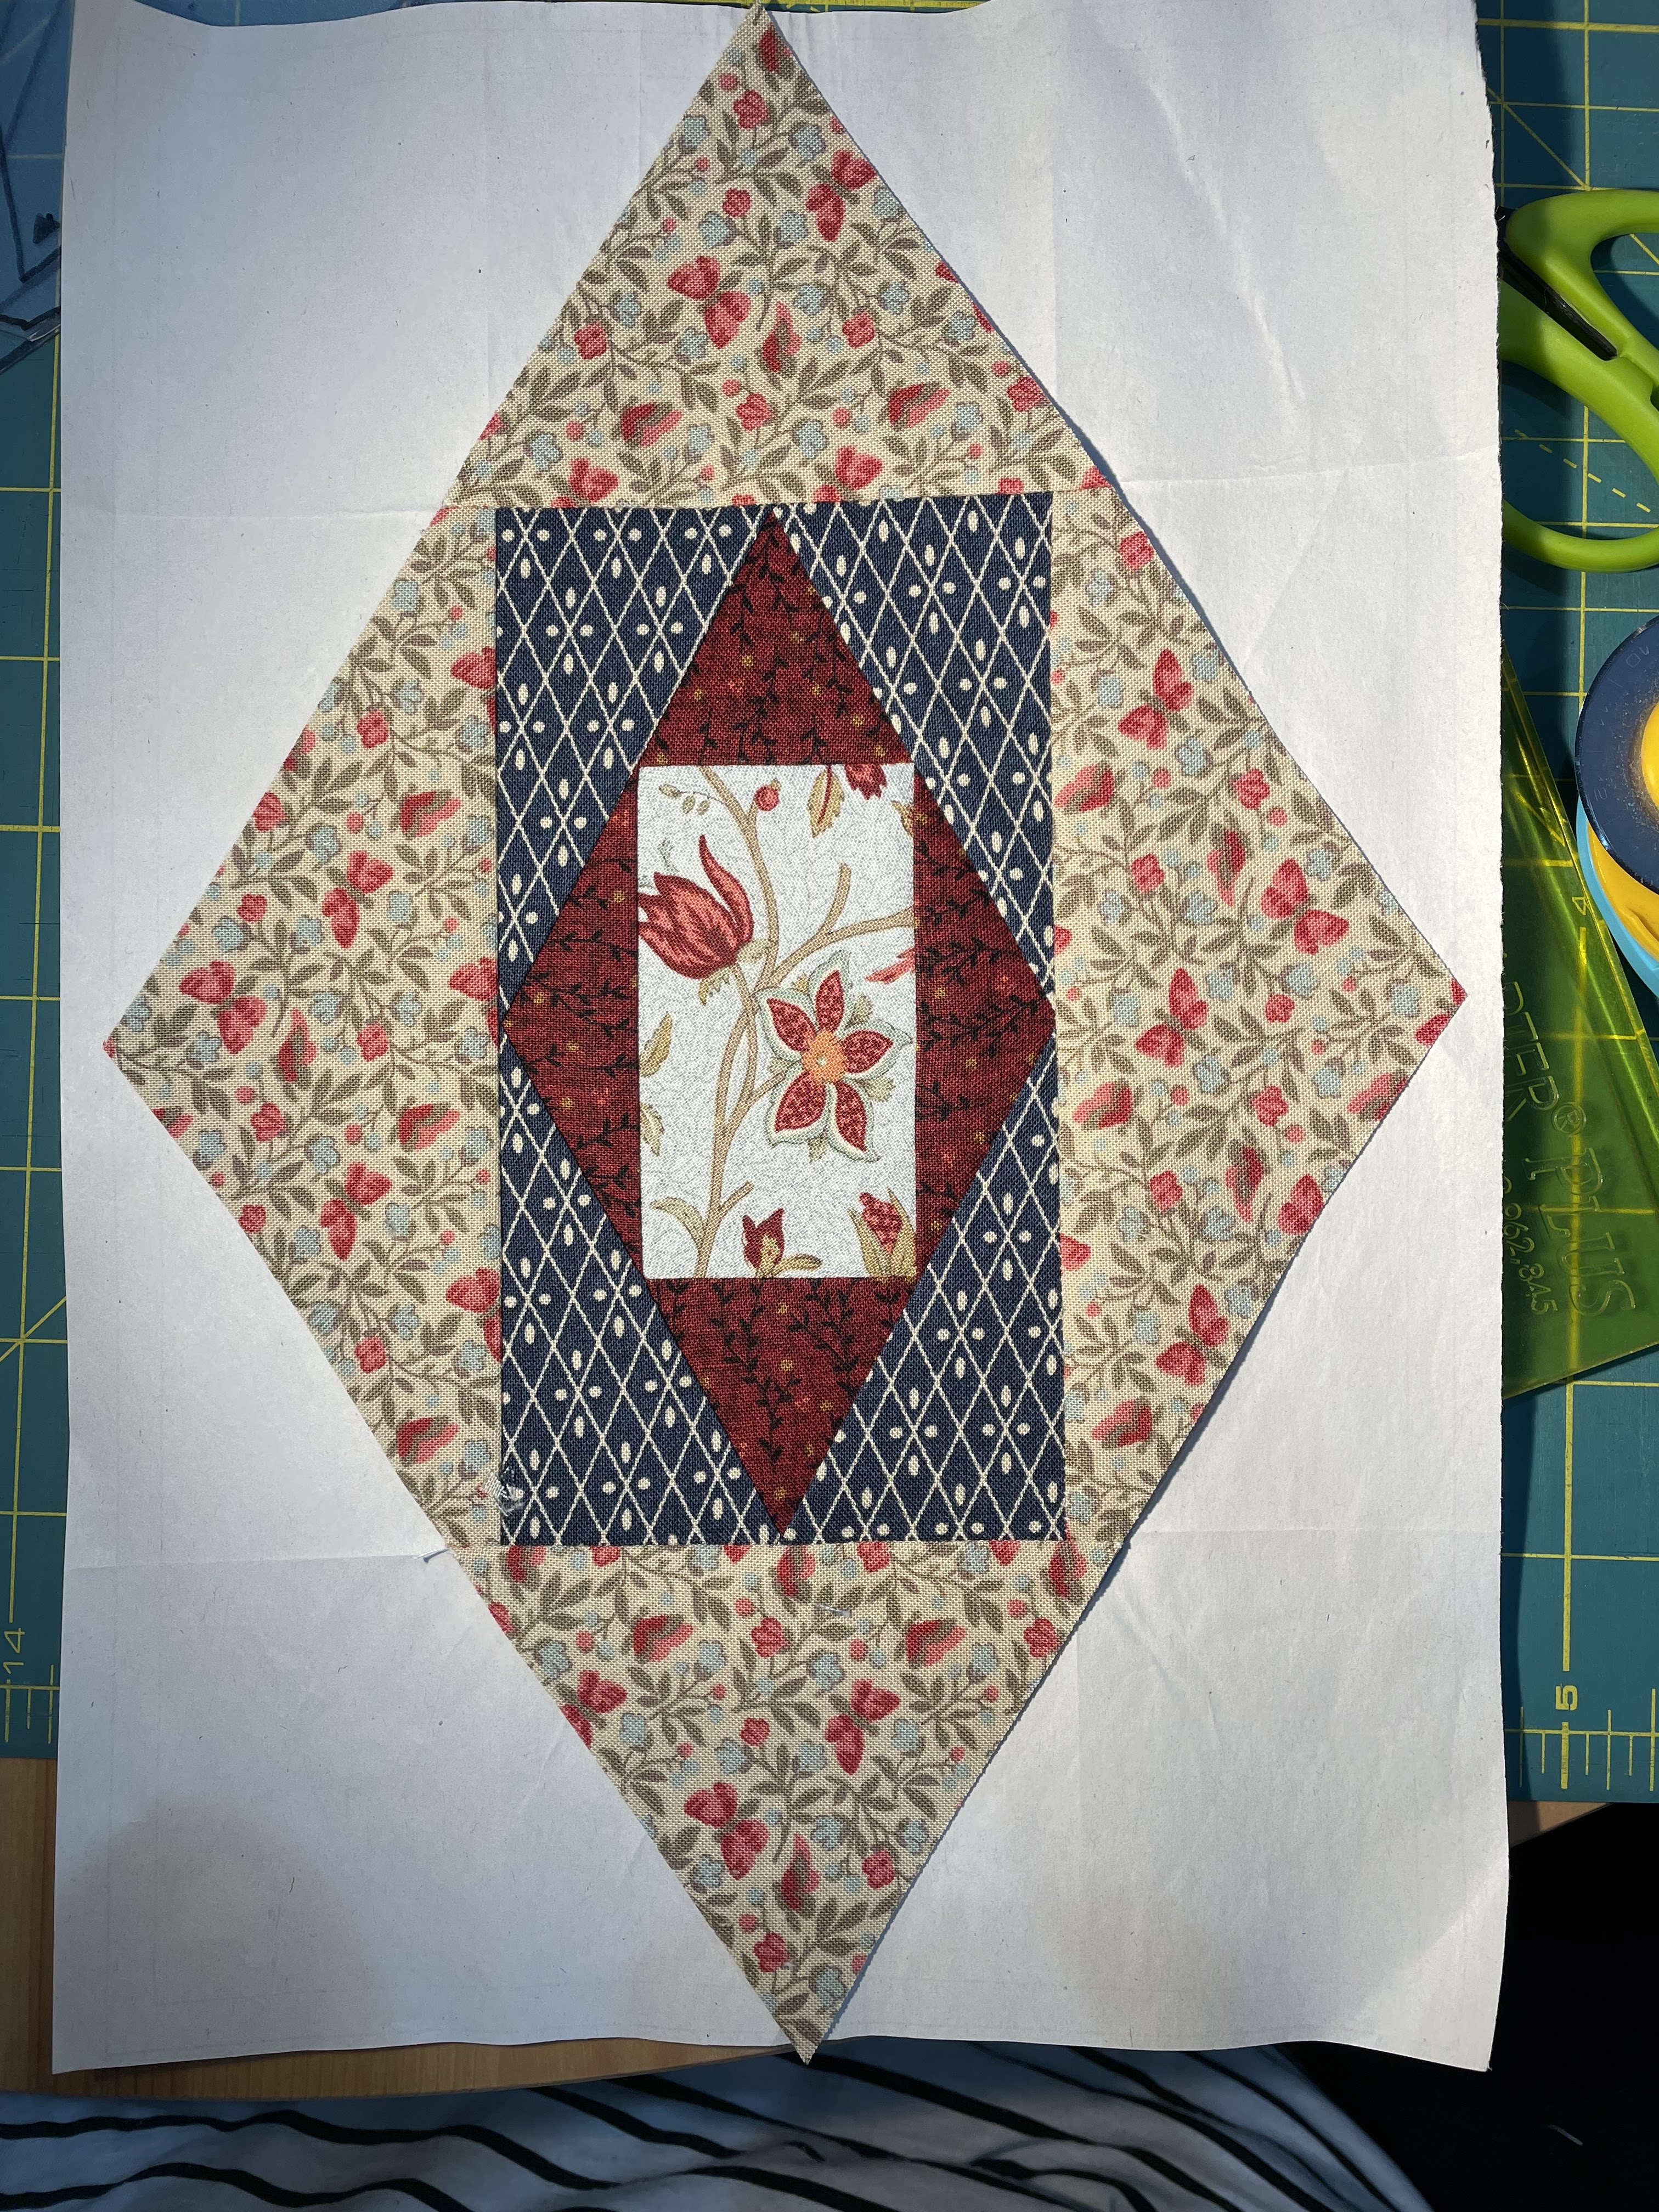
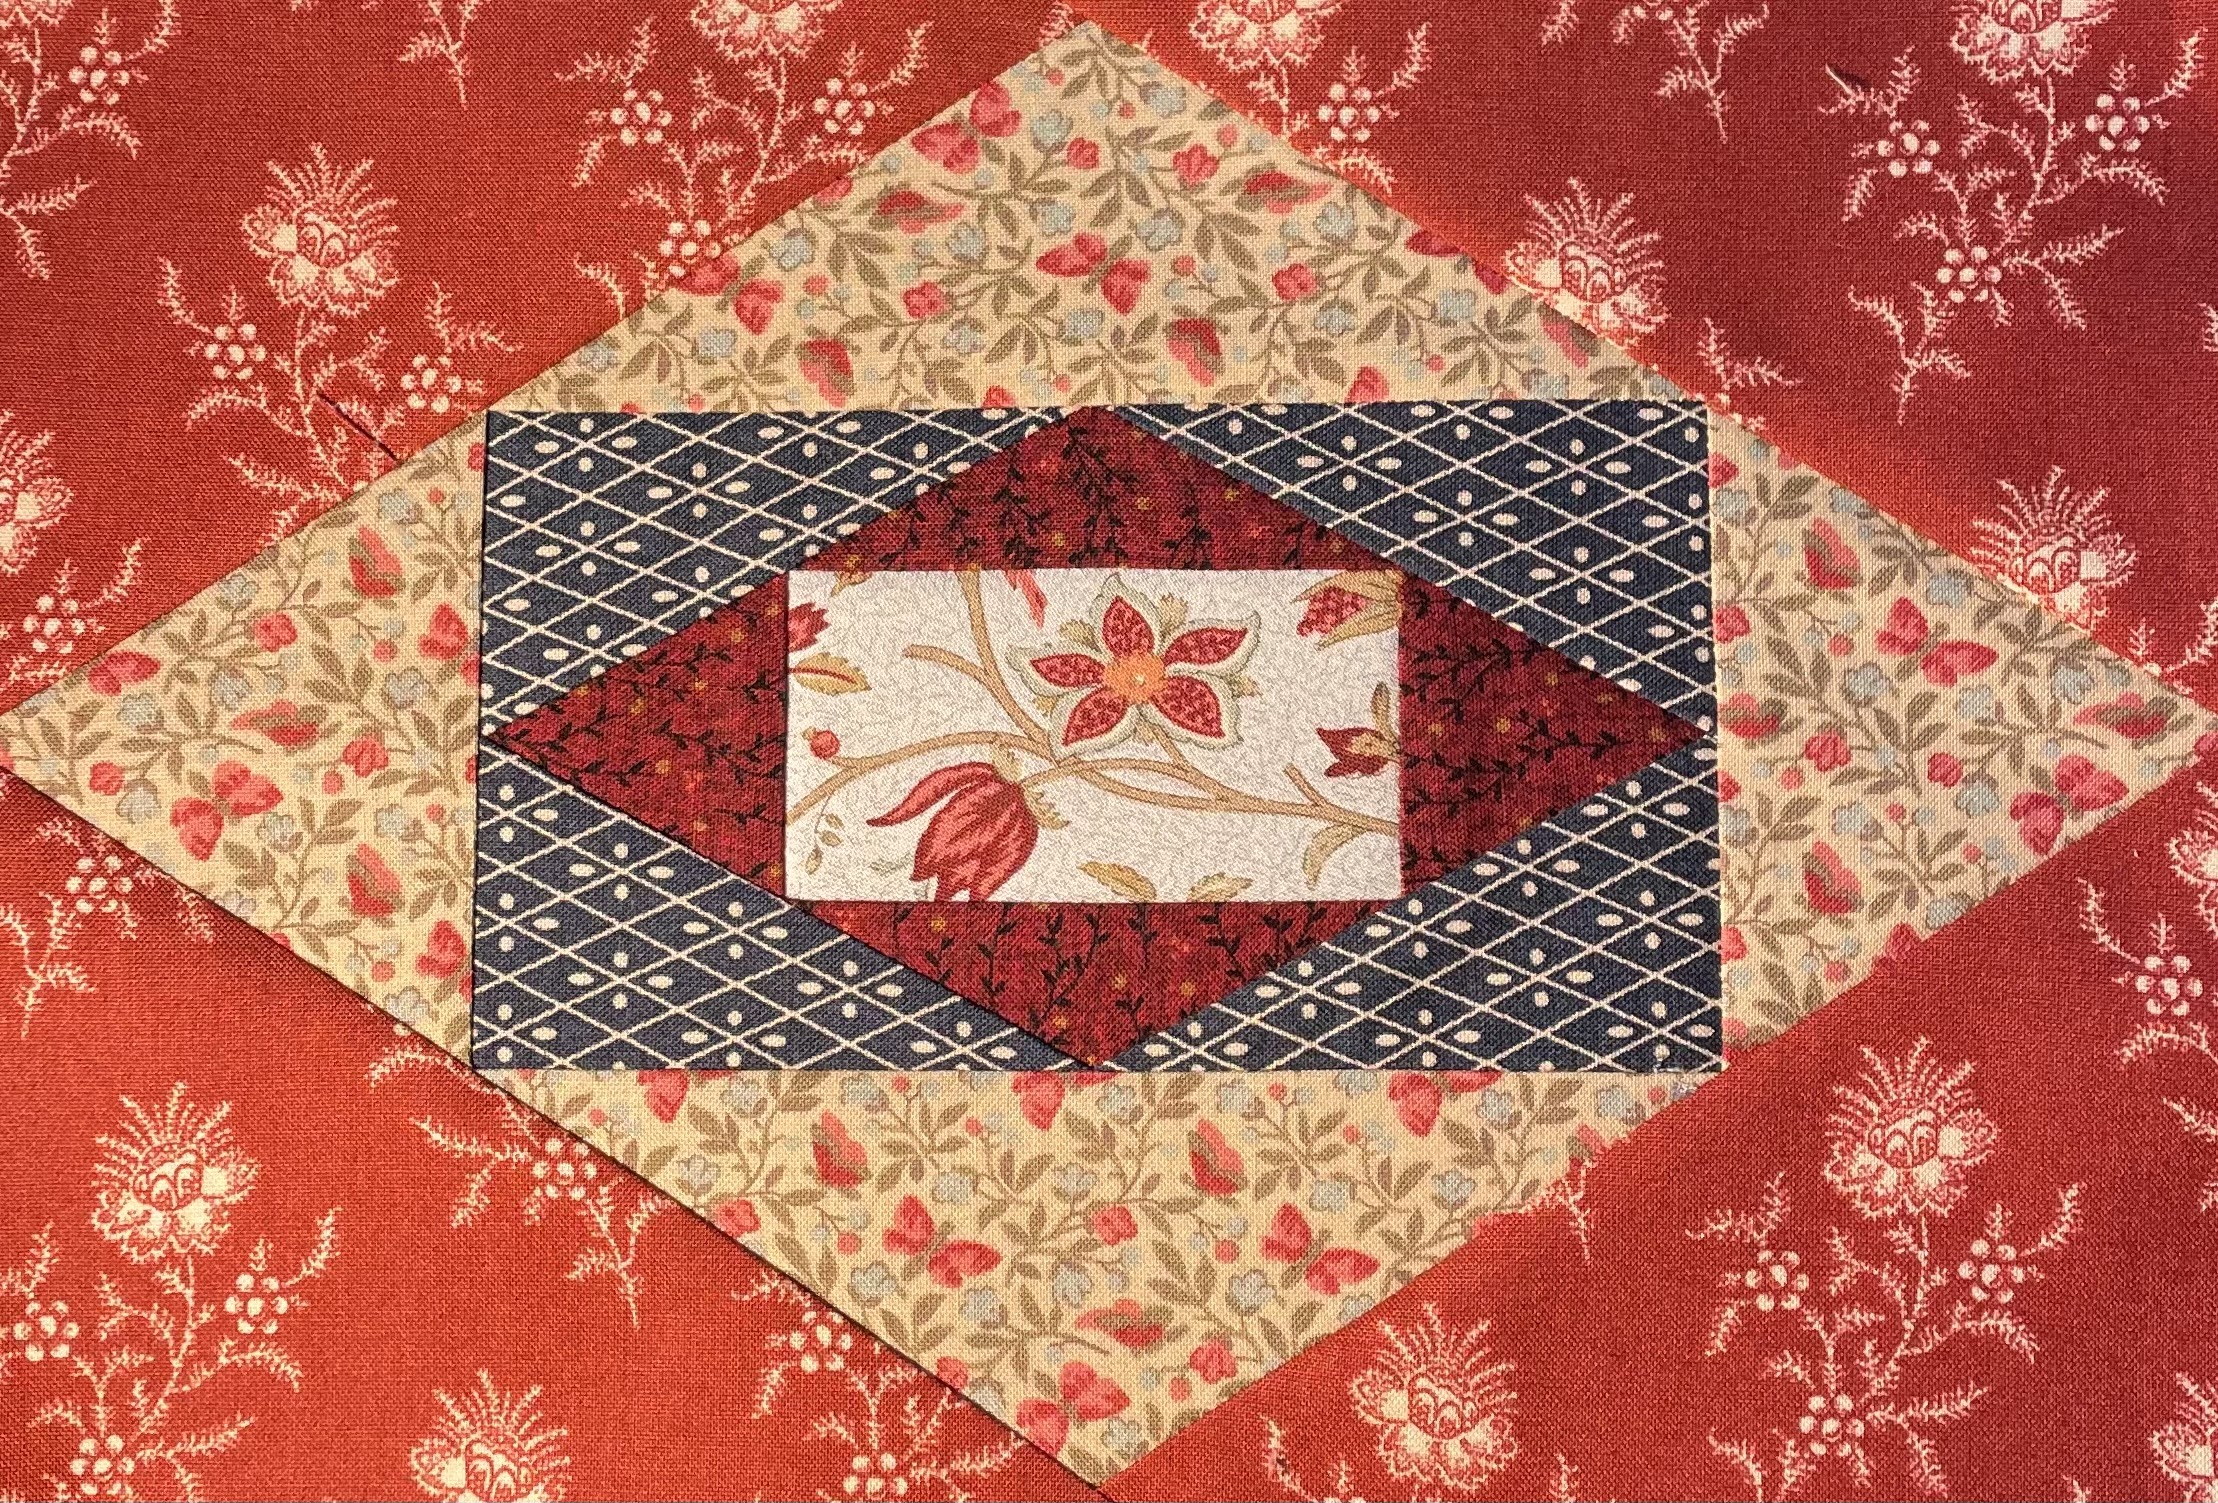
Field of Valor – A Patriotic Take on the St. Paddy’s Field Quilt

This quilt may look familiar… and that’s because Field of Valor is simply a different colorway of my St. Paddy’s Field quilt pattern. Changing fabrics can completely transform the story a quilt tells, and this version speaks to something very close to my heart — patriotism, gratitude, and honoring those who have served our country.

As we celebrate the upcoming 250th anniversary of the United States, I wanted to create something that reflects appreciation for the freedoms we enjoy and the sacrifices made by our veterans. The red, white, and blue palette gives this design a timeless patriotic feel, while the movement of the blocks creates a sense of strength and unity.

This quilt will be donated to Coming Home Incorporated here in Idaho Falls, Idaho to be raffled at their Summer Fundraiser, supporting veterans in our community. It is truly an honor to contribute in a small way to an organization that gives so much to those who have served. Quilts have always been symbols of comfort, care, and connection, and I hope this one wraps someone in warmth and appreciation.
One Pattern – Endless Possibilities

Imagine this design in:
cheerful prints for a summer picnic quilt
warm tones for a cozy fall quilt
playful orange and black for Halloween
festive reds and greens for Christmas
soft pinks and reds for Valentine’s Day
The structure of the blocks creates movement and visual interest no matter the palette, making it a wonderful pattern to revisit again and again. Each version tells a different story.

Quilting With Purpose
Creating quilts for meaningful causes adds another layer of fulfillment to the process. Knowing that this quilt will help support veterans through Coming Home Incorporated makes every stitch even more special.
As we approach America’s 250th anniversary, it feels especially appropriate to reflect on the courage and dedication of those who have protected our country. This quilt is my way of saying thank you — not only to those who served, but also to the families who stood beside them.
I hope Field of Valor inspires you to think about how fabric choices can transform a pattern and how quilting can be a way to give back to causes close to your heart.
Whether patriotic, seasonal, or scrappy, this design is proof that sometimes all it takes is a change of color to create an entirely new story.
Happy quilting🧵✨


.jpg)


